Have you noticed “MCP” popping up everywhere in AI news lately, usually next to a screenshot of someone managing their entire website from a chat window? It looks like magic. It’s actually plumbing, and it’s a lot simpler than the hype makes it sound.
So what is an MCP server, in plain English? What can it actually do for a WordPress site? And is it something a normal site owner can use, or is this one for the developers?
In this guide, we’ll answer all three questions without the jargon. We’ll explain MCP in one sentence, show you what it unlocks on a real site, and walk you through trying it yourself for free. Let’s get started!
What is an MCP server, in plain English? 🤖
MCP stands for Model Context Protocol [2]. That’s a mouthful, so forget it immediately and think of it this way: MCP is a common language that lets AI assistants talk to other software. An MCP server is simply a program that speaks that language on behalf of something else, like your website.
Here’s the everyday analogy. Right now, if you want AI help with your site, you copy text out of WordPress, paste it into a chatbot, get an answer, then go back and apply the changes yourself. With an MCP server running on your site, the AI can skip the copy-paste relay. It can read your posts, check your stats, and make changes directly, because the MCP server gives it a proper door to knock on.
And to be clear about what it isn’t: it’s not a chatbot you install, and it’s not an AI that lives on your site. The intelligence stays in whatever AI you already use (Claude, ChatGPT, Gemini, Cursor, and friends). The MCP server just lets that AI reach your site’s controls.
What can you actually do with one on WordPress? 🛠️
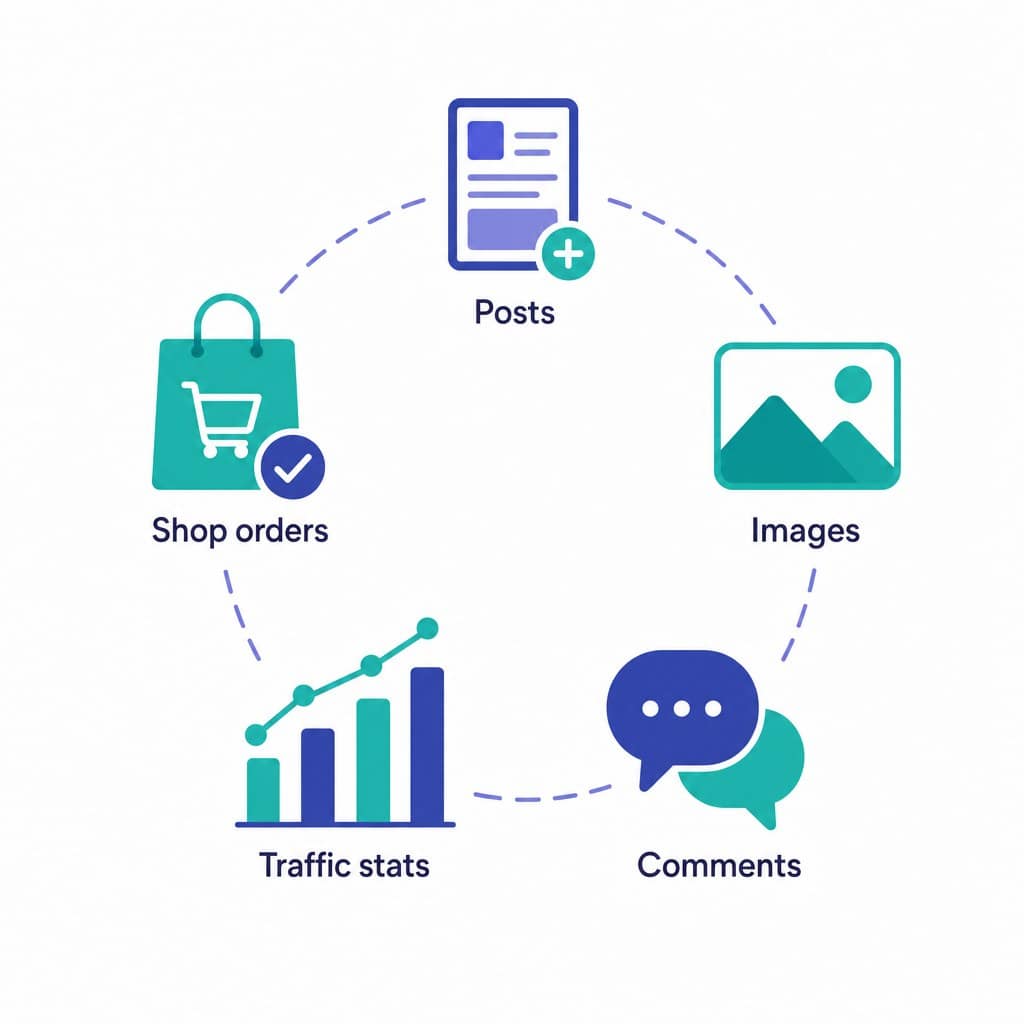
Once your site speaks MCP, the chores start moving. With the free Easy MCP AI plugin (which is made by ThemeIsle, the same family behind DomainWheel, in the spirit of transparency), your AI assistant can:
- Handle content : draft posts from your notes, rewrite them, schedule them, and publish when you say so. “Write a 500-word blog post about healthy eating and publish it as a draft” is a real example prompt.
- Tidy your media library : upload images and generate alt text for images that need it, which your SEO and accessibility both appreciate.
- Moderate comments : list what’s pending, hold the spammy ones, approve the rest with your go-ahead.
- Answer traffic questions : if you connect Google Analytics 4 (GA4) or Search Console, you can ask things like “which pages got the most traffic this week?” or “what keywords does my homepage rank for and what are the click counts?” and get answers in the chat.
- Report on your shop : WooCommerce users can ask for today’s orders and total revenue without opening a single report.
💡 The pattern to notice: the AI does the clicking and typing, and you do the deciding. Nothing in that list works better without your judgment in the loop, which brings us to the safety part in a moment.
Who benefits most from this? Anyone whose weekly routine includes repetitive site chores: shop owners checking sales, bloggers batch-updating old posts, small teams drowning in comment queues, and the perpetually curious who keep asking “wait, which of my pages actually gets traffic?” If your site work fits in a sentence, it can usually fit in a chat message.
One more everyday example, because it sells the idea better than any feature list: “Find the five posts that brought the most traffic this month and draft a short update for each of them.” That’s a task a busy owner would normally schedule for next month and forget. With MCP, it’s a message you send while the kettle boils.
How to try it yourself (free, a few minutes) ⚙️
The curious-but-careful path looks like this, and any decent host works for it (if you’re still shopping, our guide on how to choose a web host covers that piece):
Step 1 : install the Easy MCP AI plugin from the WordPress plugin directory. It’s free, it’s used on over 10,000 sites, and it holds a 5.0 out of 5 rating, from 8 ratings so far as of September 2026 [1]. Small but enthusiastic crowd.
Step 2 : open the new Easy MCP AI menu in your WordPress admin. The dashboard shows your site’s MCP address, which is the one thing your AI needs to know.
Step 3 : connect your AI. If you use Claude’s desktop app, there’s a one-click option where you simply approve what it’s allowed to do. Other AIs connect with an access token you create on the API Token & OAuth page, and here’s the important part: start with a read-only token. That lets the AI look and answer, but not change anything.
Step 4 : ask it something real. “List my five most recent drafts.” “Which of my pages got the most traffic last week?” When the answers come back with your actual site data, the plumbing works.

Connect your AI: Claude, Cursor, or Gemini 🔌
Whichever AI you use, the destination is the same: the MCP address on your Easy MCP AI dashboard. The handshake differs a little per client:
Claude (desktop app): the one-click route
The easiest of the bunch. In Claude Desktop, add a custom connector and paste your MCP address. Your browser opens a WordPress consent screen where you tick what Claude may do (read, write per type, analytics), then approve. No tokens to copy, and you can change your mind later from the same screen.
Cursor: one small config file
For the code-editor crowd, create a read-only token on the plugin’s API Token & OAuth screen, then add this to ~/.cursor/mcp.json (straight from the plugin’s setup guide):
{
  "mcpServers": {
    "wordpress": {
      "url": "https://yoursite.com/wp-json/easy-mcp-ai/v1/mcp",
      "headers": { "Authorization": "Bearer YOUR_API_TOKEN" }
    }
  }
}
Swap in your real site address and token, restart Cursor, and your site is a tool in its chat panel.
Gemini CLI: same idea, different file
Google’s terminal AI works the same way: add your Easy MCP AI address to the MCP section of ~/.gemini/settings.json, with your token, and Gemini can manage posts, media, and even WooCommerce from the command line. The plugin’s integrations page has a setup guide for each of these, plus ChatGPT, Manus, and n8n.
Staying safe while the AI helps 🛡️
Giving any tool the keys to your site deserves a moment of seriousness, so here’s the calm version:
- Start read-only : the AI can explore and report but cannot touch a thing. Upgrade to write access only when it’s earned your trust.
- Scope the power : tokens can be scoped to a chosen subset of tools, so you decide exactly what the AI may touch and what stays off-limits.
- Check the diary : every action the AI takes is written down in an activity log, and every change gets a before-and-after snapshot. You can always see exactly what it did.
⚠️ NOTE : write access is real power, and it stays your responsibility. The plugin logs everything, but nobody’s log reads itself. Glance at it now and then, especially in the first weeks.
The honest limits 🤔
👉 It executes, you direct. An MCP-connected AI is brilliant at “do these forty tedious things” and much less brilliant at deciding what your business actually needs. Strategy is still your job.
The plugin is free, and its core features cost nothing. A few optional extras, specifically the fancy SEO-research data feeds, require accounts with those data providers, which is their cost, not the plugin’s. (One provider’s rating lookup is even free.)
It’s young. A perfect score from eight ratings is a lovely start rather than a long track record, so try it on a test site or with read-only first, as mentioned. Twice, because it matters.
Conclusion 🧐
An MCP server is just a translator that lets your AI assistant talk to your website directly. On WordPress, that turns “copy, paste, click, repeat” into “ask, check, approve.” The free plugin covers everything a curious site owner needs to try it properly.
The sensible path: install it, connect read-only, and spend a week asking it questions about your own site. Once it has impressed you, then you can talk about write access. And if your site is still at the planning stage, our guide on how to make a small business website is the place to start there.