“I bought a domain name, now what?” If that’s the question on your mind right now, take a breath. You’re holding the most important piece of your online presence, and everything else is just assembly.
A domain name on its own is an address with nothing built on it yet. Nobody can visit it, search engines can’t find anything there, and your business is still invisible online. The good news: a handful of moves, most of them doable in an afternoon, take you from “I own a name” to “I have a website.”
In this guide, we’ll walk you through the first five moves to make after buying a domain: securing your ownership, pointing the domain to hosting, switching on SSL, installing WordPress, and publishing a real first page. We’ll also flag what can safely wait. Let’s get started!
I bought a domain name, now what? Your first five moves 🗺️
Here they are in order, with the honest friction points included. None of these steps are hard, but a couple of them involve waiting on things outside your control, and we’ll tell you exactly where.
1. Secure your domain: login, auto-renew, and privacy 🔒
Your domain is now a business asset, so treat the account that controls it accordingly. Log in to your registrar (the company you bought the domain from), make sure your password is strong and unique, and confirm the email address on file is one you actually read. Renewal warnings go to that address, and missing them is how people lose domains. While you’re in there, note the domain’s expiration date and the name of the registrar itself; both are easy to forget and annoying to recover later.
Next, check that auto-renew is switched on and that your saved payment method is current. If the domain expires anyway, contact your registrar right away. Some offer a renewal window, but the timing and price vary. Our guide to renewing a domain name walks through the whole life cycle.
Finally, check what appears in a public WHOIS or RDAP lookup for your domain. Many registrars hide personal contact details automatically, but practices vary by registrar and domain extension. If yours are visible, turn on domain privacy if it’s available. Domain privacy replaces your details with generic registrar-provided information. Some registrars include it free (Namecheap and Cloudflare Registrar both do), while others charge for it. If yours charges and you’re unsure it’s worth paying, our guide on whether domain protection is worth it breaks down the costs and benefits.
⚠️ NOTE : Privacy protection hides your details from casual snoops and spammers. It is not invisibility: your registrar always knows who you are, and privacy terms vary by extension.
2. Point your domain to your hosting 🧭
A domain is an address; hosting is the building it points to. If you bought the domain and the hosting from the same company, they’re often connected already, and you can skip ahead. If not, you’ll connect them yourself with nameservers.
Nameservers are part of the Domain Name System (DNS), the internet’s phone book that translates your domain name into the IP address of the server where your site lives. Your host gives you two nameserver addresses (they look like ns1.examplehost.com). You then log in to your registrar, find the nameserver or DNS management section for your domain, paste those addresses in, and save. The exact clicks vary by registrar, but the setting always lives in the domain’s management area. Some hosts let you point individual DNS records (like the A record) at their servers instead, but handing over the nameservers is simpler: your host then manages all of your DNS in one place.
The change isn’t instant. DNS servers and devices around the world cache (temporarily store) the old information, so the update spreads gradually in a process called DNS propagation. It commonly takes up to 48 hours, and in some cases longer, though it’s often much faster in practice. Don’t panic if the domain doesn’t load your site an hour later.
💡 Do the nameserver switch before you start building. By the time your site is ready, propagation is long done and the domain resolves everywhere.
Haven’t picked a host yet? Then that’s your real step two: choose one first, because you need their nameserver addresses before you can point anything. Our guide on how to choose a web host covers what to look for.
3. Turn on SSL 🔐
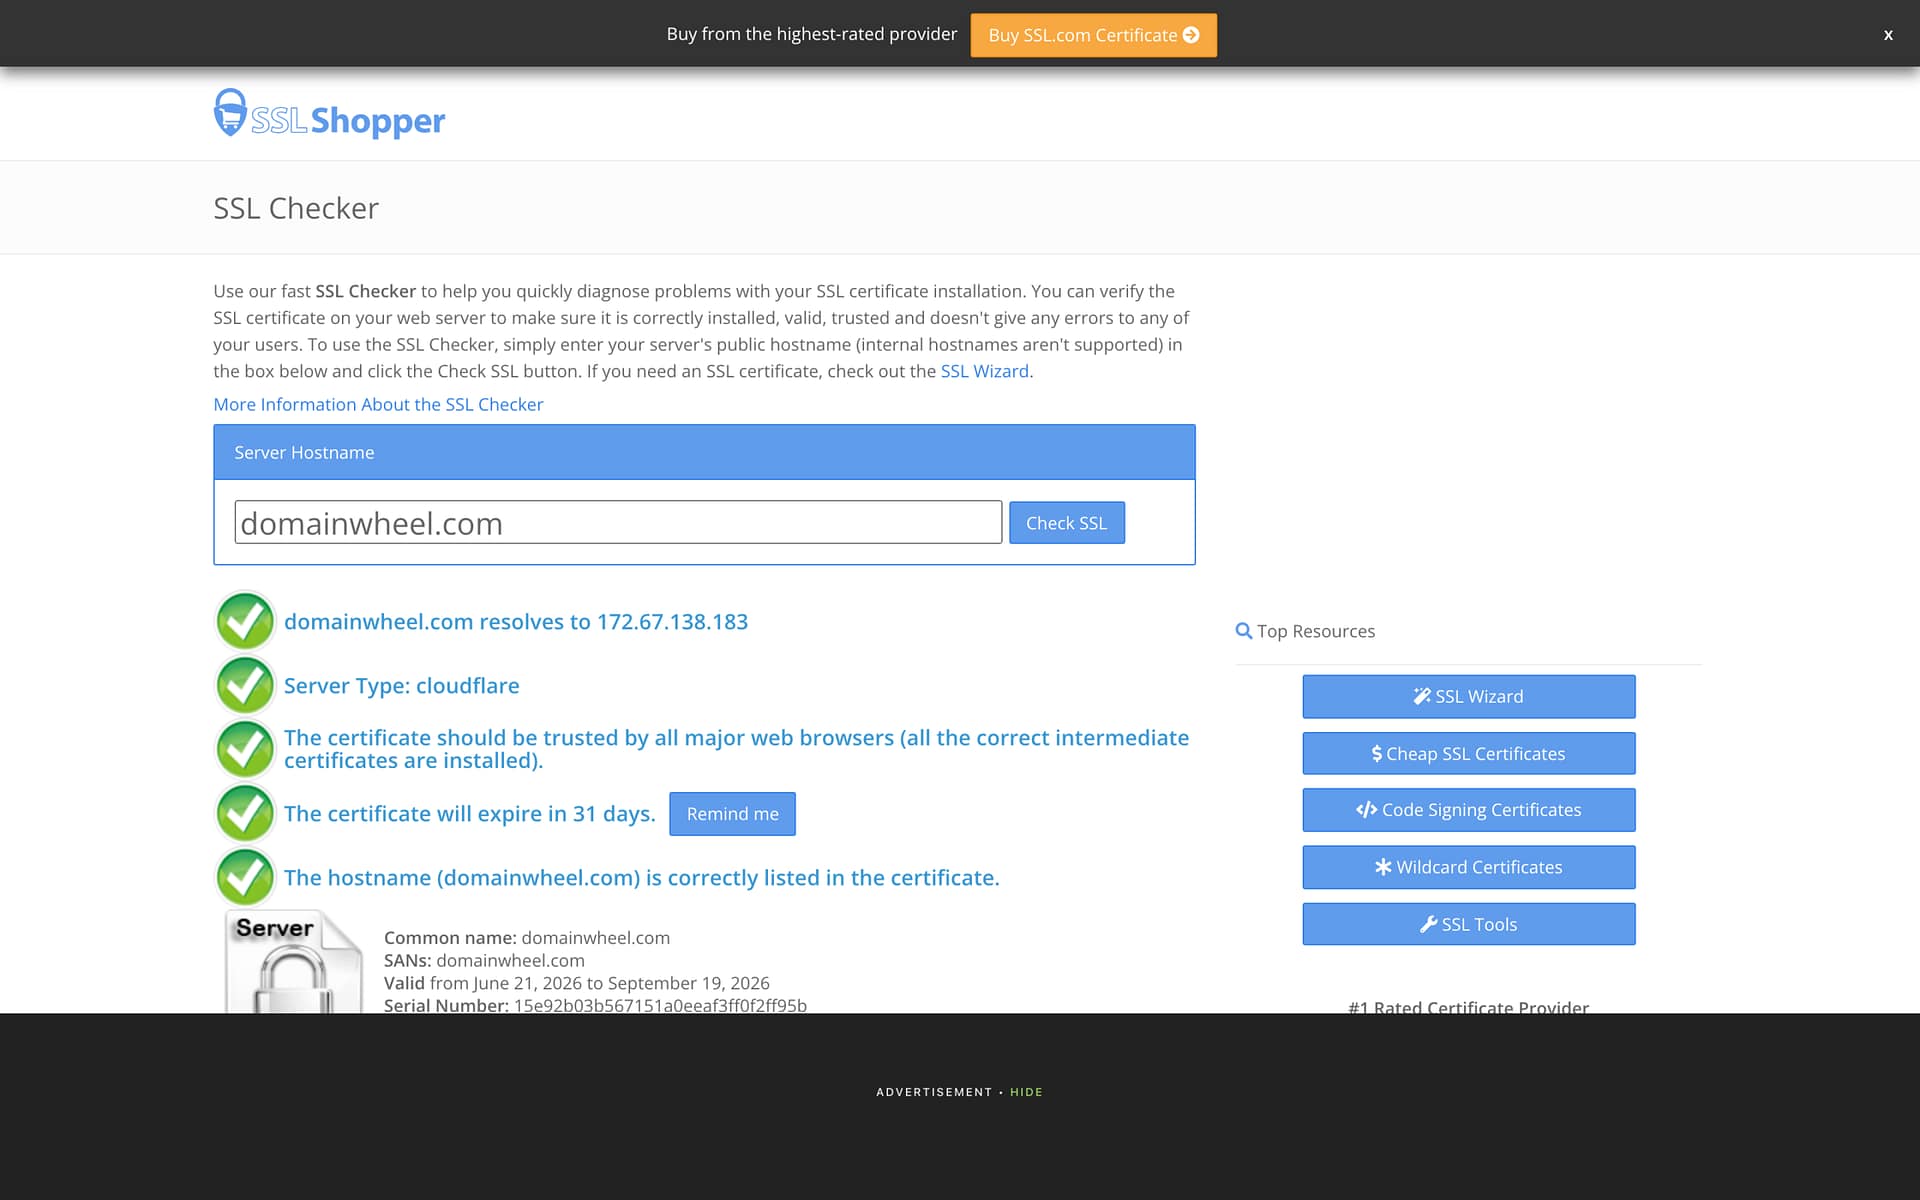
SSL stands for Secure Sockets Layer. It’s the technology that encrypts the connection between your website and your visitors, so information like contact form entries and logins can’t be read in transit. You can spot a secured site by the https:// in its address and the padlock icon in the browser bar.
This matters even before you have real traffic. Browsers have flagged plain HTTP pages as “not secure” since 2018, which is not the first impression you want to make, and Google has favored HTTPS sites in search since at least 2014.
The good news: you probably won’t pay for this. Most hosts include a certificate with their plans (Bluehost, for example, bundles SSL with most of its hosting plans), and free certificates exist for everyone through Let’s Encrypt, a free, automated certificate authority run for the public’s benefit. In many hosting dashboards it’s a simple toggle, and if you can’t find it, your host’s support team does this all day. Want the deep dive on DV, OV, EV, and wildcard certificates? Read our guide to the different types of SSL certificates.
4. Install WordPress and pick a theme 🎨
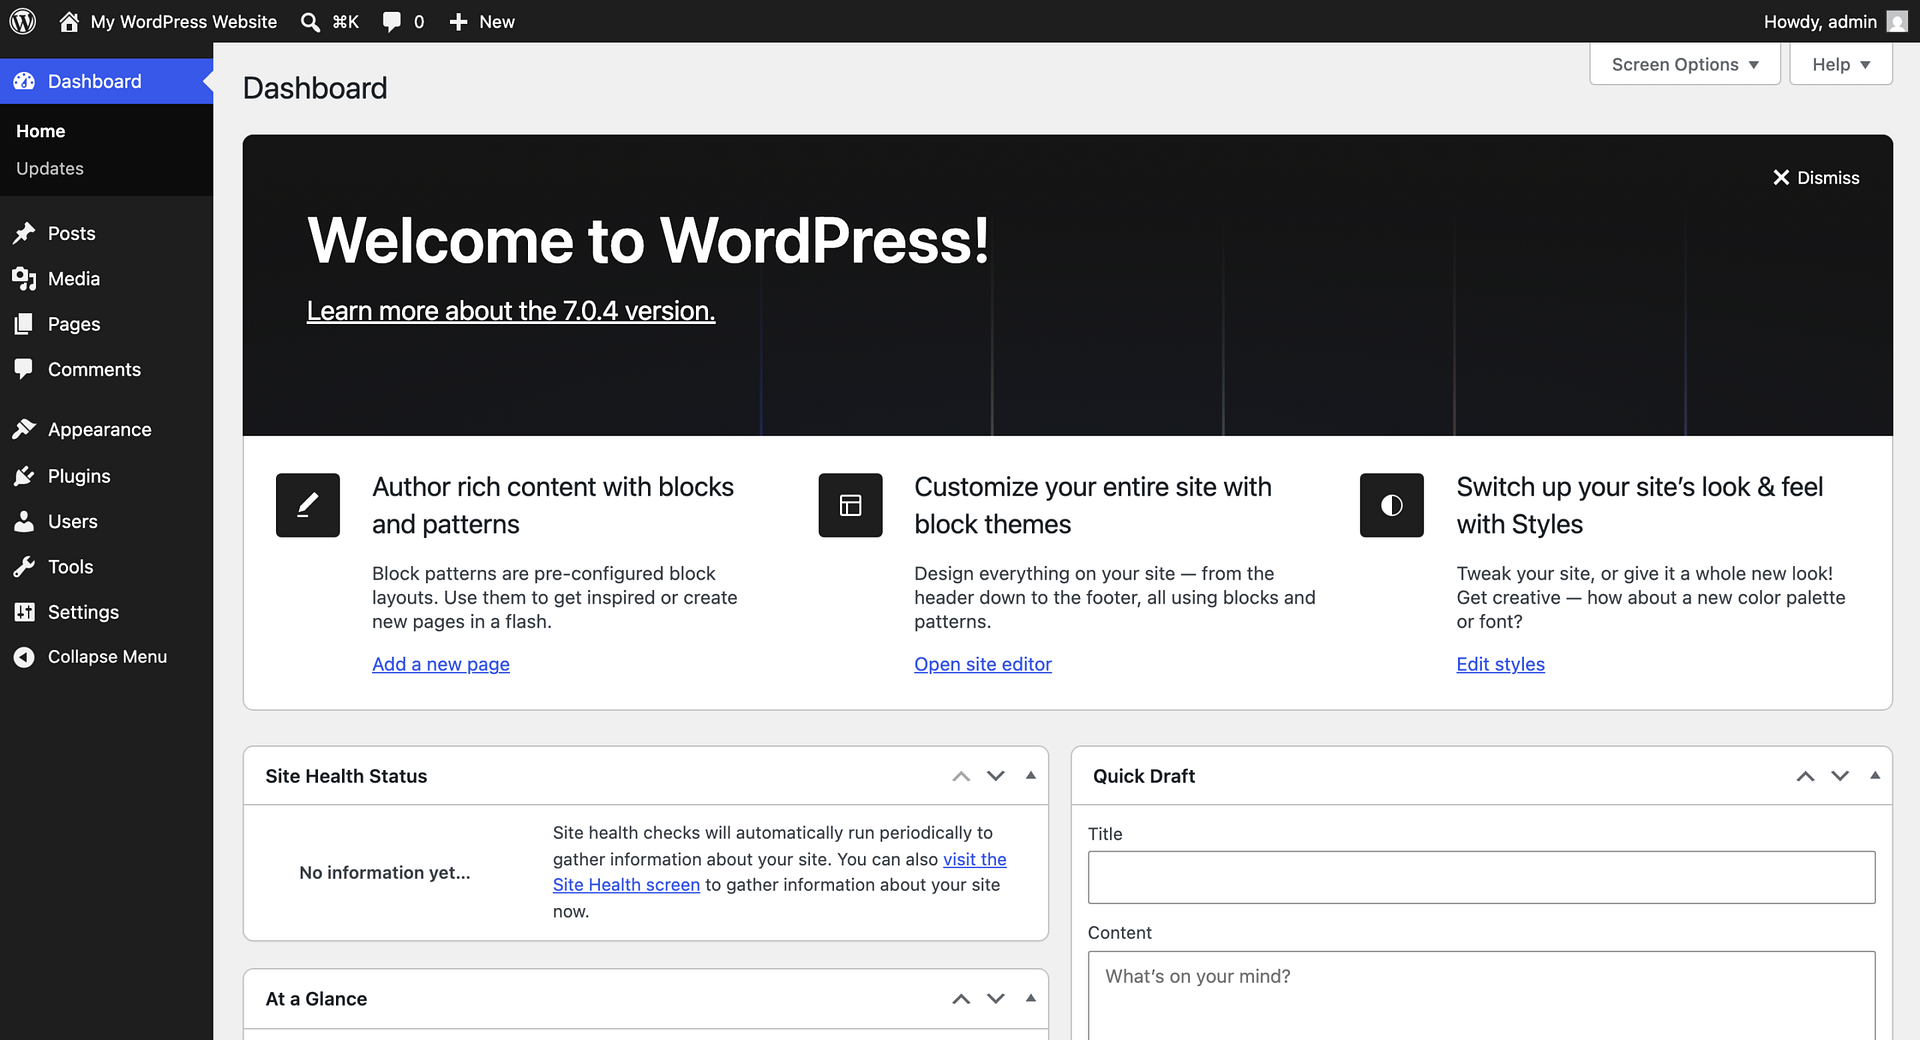
WordPress is a free, open-source content management system (CMS) that lets you run your site without coding it yourself. Installing it sounds technical, but hosts have sanded down the rough edges: most give you either a pre-installed WordPress site or a simple setup wizard that walks you through it. If your host offers to set WordPress up while you’re signing up, take them up on it; it’s the same result with fewer screens to click through.
With WordPress in, choose a theme, which controls your site’s design. The default theme works, but it looks exactly like what it is. The free WordPress theme directory is the safe place to browse, and whatever you pick, check its ratings and make sure it’s actively updated. A fast, free starter theme like Neve, with over 200,000 active installs on WordPress.org, is a solid default for a small business site.
👉 Don’t overthink the theme. You’re not locked in: you can customize it now through the Site Editor or Customizer, depending on the theme, and switch themes later without losing your pages.
5. Publish a real first page 📄
Here’s where new site owners stall: tweaking colors and fonts for weeks while the domain shows nothing. Resist it. Put up one honest page first, with your business name, what you offer, and how to contact you. A single real page beats an invisible masterpiece.
Why the urgency? A live page gives visitors something to land on once the domain starts resolving, and it gives search engines actual content to discover. Which brings the honest part: your site will not show up in Google right away. Search engines need to find and index a brand-new site first, ranking takes time, and nobody can promise you a fixed timeline. Treat the first weeks as building time, not traffic time.
Once the first page is live, add the rest of the core pages (contact, about, services or portfolio) and then work through a proper launch: SEO basics, analytics, and social profiles. Our beginner’s guide to launching a new website has that checklist.
What can wait until later ⏳
Just as important as knowing what to do first is knowing what not to do yet. None of these make your site more real on day one:
- A perfect logo and branding : a plain text version of your name is fine until the site earns visitors.
- A blog and a content calendar : add one once your core pages exist, not before.
- Paid advertising : sending paid traffic to a half-built site burns budget.
- A pile of plugins : every plugin is something to maintain, so add features only when a real need shows up.
- Every social platform at once : one profile you actually update beats five ghost towns.
- Search-engine fine-tuning : submitting sitemaps and tuning meta can wait for a day when real pages exist to be found.
- A custom email address on your domain : you@yourdomain.com looks professional and is worth setting up soon, but nothing above depends on it.
None of this is “never.” It’s “not yet.” The pattern worth noticing: everything on that list is polish or promotion, and both work better once a real page exists to polish and promote. A decent page this week beats a perfect one next month.
Final thoughts 🏁
So, you bought a domain name. Now what? Five moves, in order: secure the domain, point it at hosting, turn on SSL, install WordPress with a theme you like, and publish a real first page. Do step one today even if you do nothing else, because protecting the asset can’t wait. The rest fits in a weekend.
Ready to go further? Follow our step-by-step guide on how to make a website, which picks up right where this one leaves off.